| Last Modified: 01-27-2025 | 6.11:8.1.0 | Doc ID: RM100000002POMP |
| Model Year Start: 2025 | Model: GR Corolla | Prod Date Range: [09/2024 - ] |
| Title: INTERIOR PANELS / TRIM: ROOF HEADLINING (for Hatchback): DISASSEMBLY; 2025 MY Corolla Corolla Hatchback Corolla HV GR Corolla [09/2024 - ] | ||
DISASSEMBLY
PROCEDURE
1. REMOVE TELEPHONE MICROPHONE ASSEMBLY
Click here
![2023 - 2025 MY Corolla Corolla Hatchback Corolla HV GR Corolla [11/2022 - ]; AUDIO / VIDEO: MICROPHONE: REMOVAL+](/t3Portal/stylegraphics/info.gif)
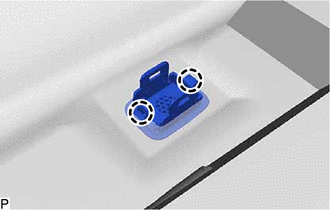
2. REMOVE MICROPHONE CASE
HINT:
Use the same procedure for all microphone cases.
|
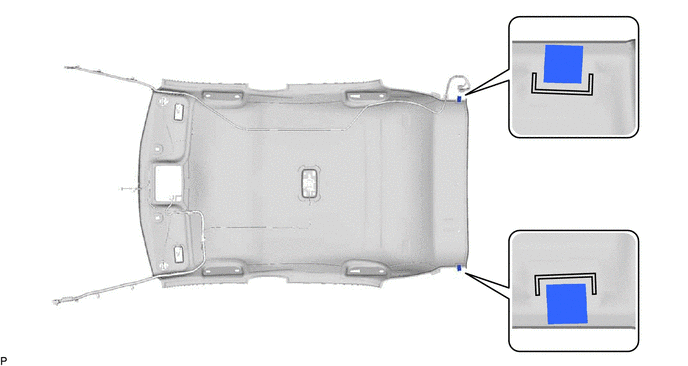
(a) Disengage the 2 claws to remove the microphone case. |
|
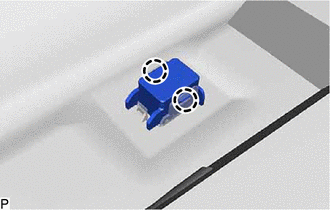
3. REMOVE ROOF HEADLINING HOLDER COVER (w/ Cover)
|
(a) Disengage the 2 claws to remove the roof headlining holder cover. |
|
4. REMOVE ACTIVE NOISE CONTROL MICROPHONE (w/ Active Noise Control Microphone)
Click here
5. REMOVE NO. 1 ROOF SILENCER PAD
(a) Remove the No. 1 roof silencer pad.
6. REMOVE NO. 2 ROOF SILENCER PAD
(a) Remove the No. 2 roof silencer pad.
7. REMOVE NO. 3 ROOF SILENCER PAD
(a) Remove the No. 3 roof silencer pad.
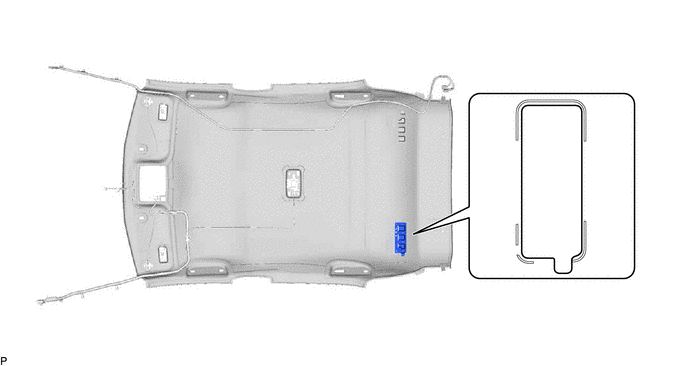
8. REMOVE ROOF SIDE RAIL SILENCER PAD LH
(a) Remove the roof side rail silencer pad LH.
9. REMOVE ROOF SIDE RAIL SILENCER PAD RH
HINT:
Use the same procedure as for the LH side.
10. REMOVE ROOF HEADLINING PAD LH
(a) Remove the roof headlining pad LH.
11. REMOVE ROOF HEADLINING PAD RH
HINT:
Use the same procedure as for the LH side.
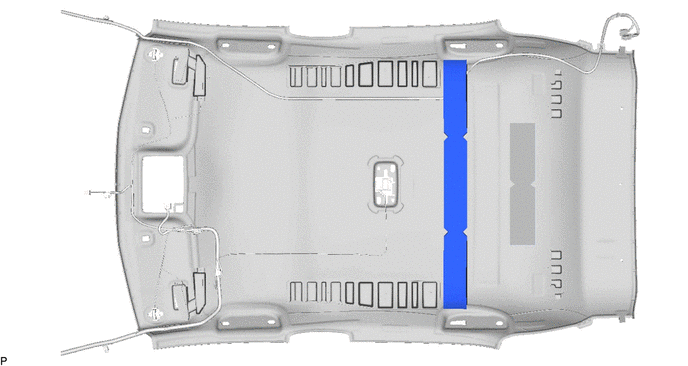
12. REMOVE NO. 6 ROOF HEADLINING SUPPORT
(a) Remove the No. 6 roof headlining support.
13. REMOVE NO. 5 ROOF HEADLINING SUPPORT
HINT:
Use the same procedure as for the No. 6 roof headlining support.
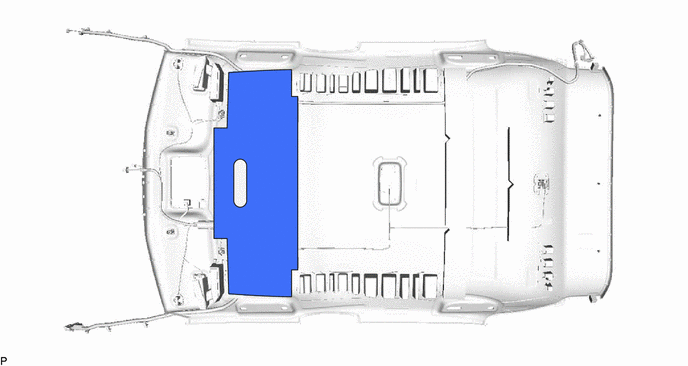
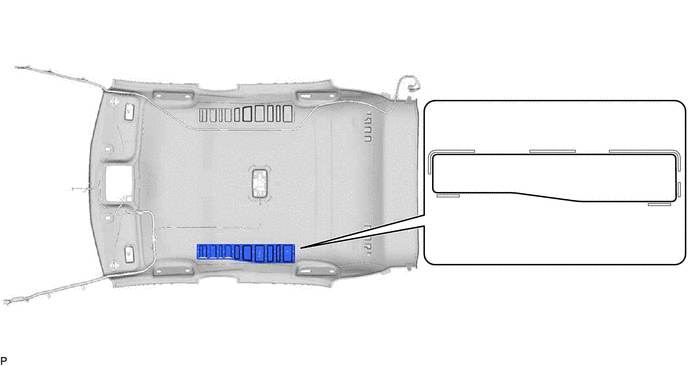
14. REMOVE ROOF HEADLINING PAD
(a) Remove the 2 roof headlining pads.
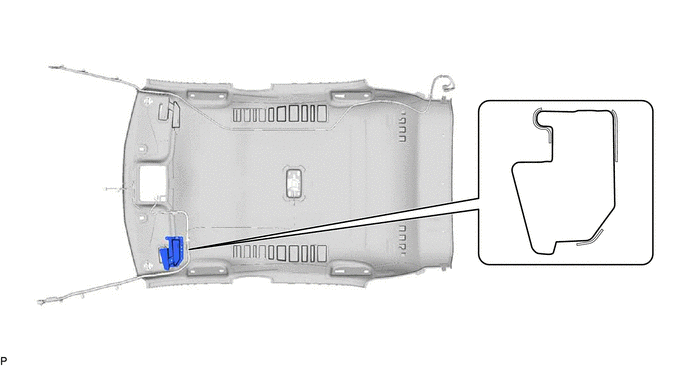
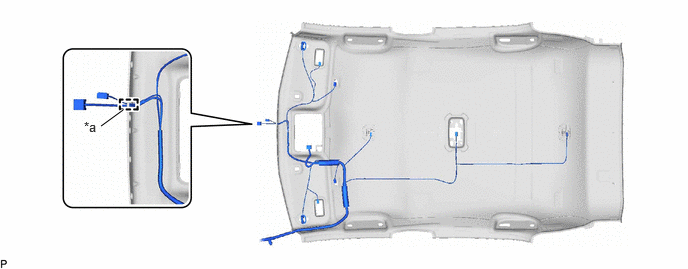
15. REMOVE ANTENNA CORD SUB-ASSEMBLY
Click here
16. REMOVE NO. 1 ROOF WIRE (w/o Active Noise Control Microphone)
(a) Remove the adhesive tape from the roof headlining assembly.
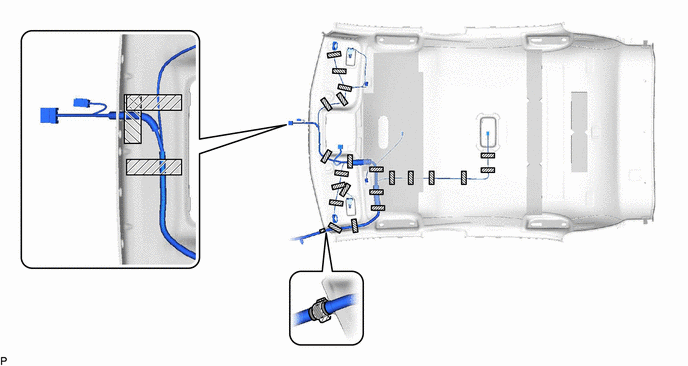

|
Adhesive Tape |
- |
- |
(b) Turn the 2 visor connectors counterclockwise approximately 90° and remove them from the roof headlining assembly.
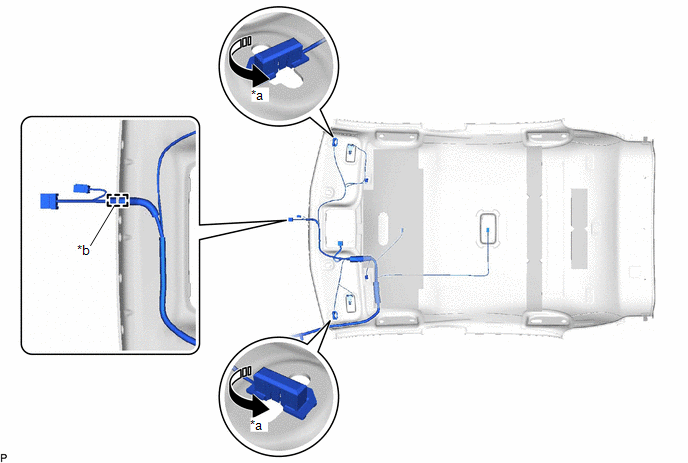
|
*a |
90° |
*b |
Notch |

|
Rotation Direction |
- |
- |
(c) Disconnect the No. 1 roof wire from the notch.
(d) Remove the No. 1 roof wire from the roof headlining assembly.
17. REMOVE NO. 1 ROOF WIRE (w/ Active Noise Control Microphone)
(a) Remove the adhesive tape from the roof headlining assembly.
|
|
Adhesive Tape |
- |
- |
(b) Turn the 2 visor connectors counterclockwise approximately 90° and remove them from the roof headlining assembly.

|
*a |
90° |
- |
- |
|
|
Rotation Direction |
- |
- |
(c) Disconnect the No. 1 roof wire from the notch.
|
*a |
Notch |
- |
- |
(d) Remove the No. 1 roof wire from the roof headlining assembly.
|
|
|