| Last Modified: 05-13-2024 | 6.11:8.1.0 | Doc ID: RM100000001HTKP |
| Model Year Start: 2020 | Model: GR Corolla | Prod Date Range: [03/2019 - 04/2020] |
| Title: INTERIOR PANELS / TRIM: ROOF HEADLINING (for Sedan): DISASSEMBLY; 2020 MY Corolla Corolla Hatchback Corolla HV GR Corolla [03/2019 - 04/2020] | ||
DISASSEMBLY
PROCEDURE
1. REMOVE NO. 1 ROOF SILENCER PAD (for Normal Roof)
(a) Remove the No. 1 roof silencer pad.
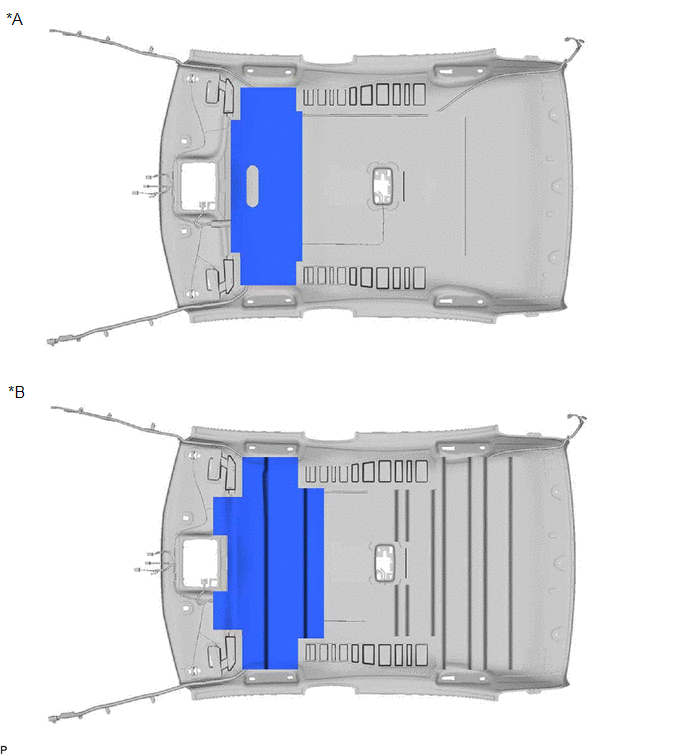
|
*A |
for Gasoline Model |
*B |
for HV Model |
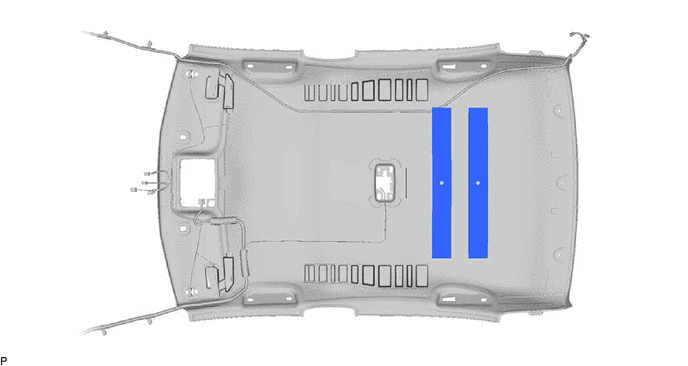
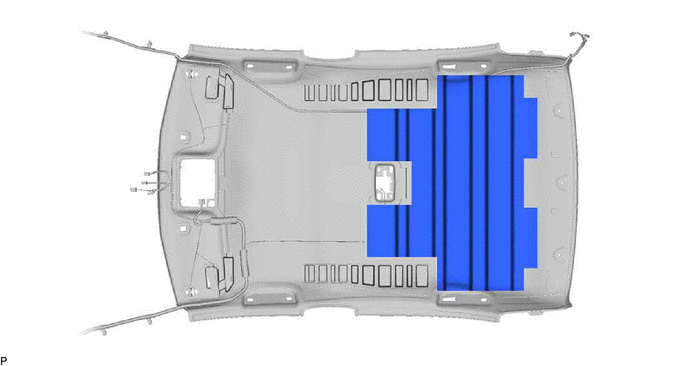
2. REMOVE NO. 2 ROOF SILENCER PAD (for TMC Made Normal Roof)
(a) for Gasoline Model:
(1) Remove the 2 No. 2 roof silencer pads.
(b) for HV Model:
(1) Remove the No. 2 roof silencer pad.
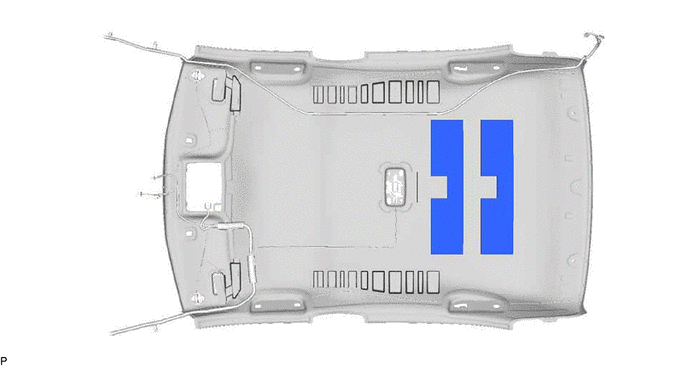
3. REMOVE NO. 2 ROOF SILENCER PAD (for TMMMS Made Normal Roof)
(a) Remove the 2 No. 2 roof silencer pads.
4. REMOVE ROOF SIDE RAIL SILENCER PAD LH (for Normal Roof)
(a) w/ Roof Side Rail Silencer Pad:
(1) Remove the roof side rail silencer pad LH.
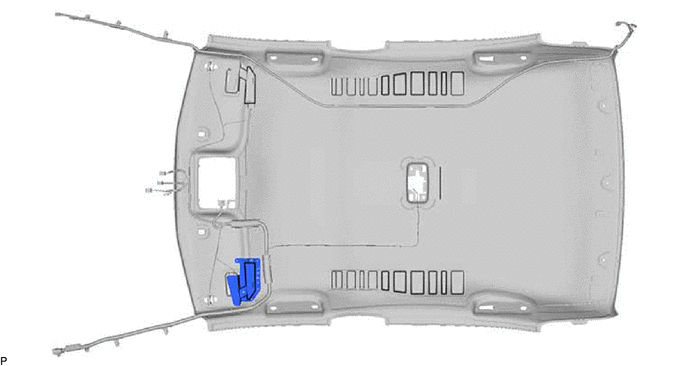
5. REMOVE ROOF SIDE RAIL SILENCER PAD RH (for Normal Roof)
HINT:
Use the same procedure as for the LH side.
6. REMOVE ROOF HEADLINING PAD LH (for Normal Roof)
(a) w/ Roof Headlining Pad:
(1) Remove the roof headlining pad LH.
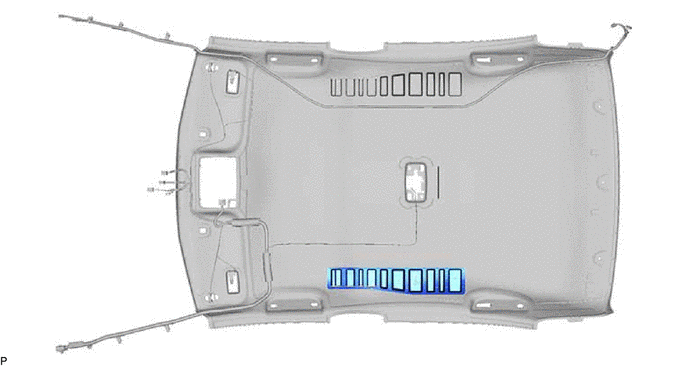
7. REMOVE ROOF HEADLINING PAD RH (for Normal Roof)
HINT:
Use the same procedure as for the LH side.
8. REMOVE CENTER ROOF HEADLINING PAD (for Normal Roof)
(a) Remove the center roof headlining pad.
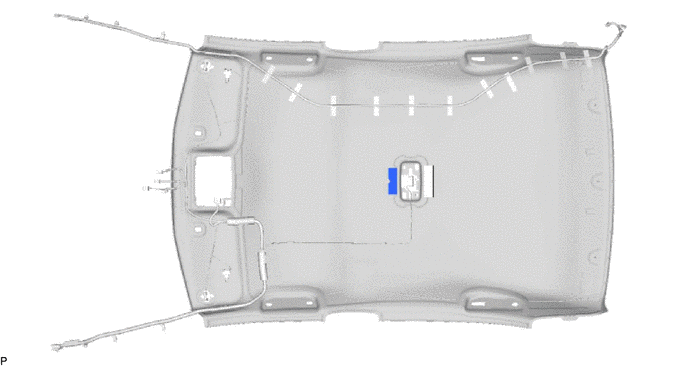
9. REMOVE CENTER ROOF HEADLINING PAD (for Normal Roof)
(a) Remove the center roof headlining pad.
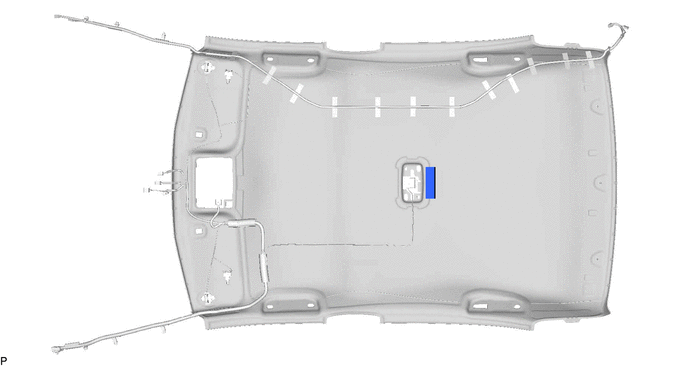
10. REMOVE NO. 2 ROOF HEADLINING PAD (for TMMMS Made Normal Roof)
(a) w/ No. 2 Roof Headlining Pad:
(1) Remove the 2 No. 2 roof headlining pads.
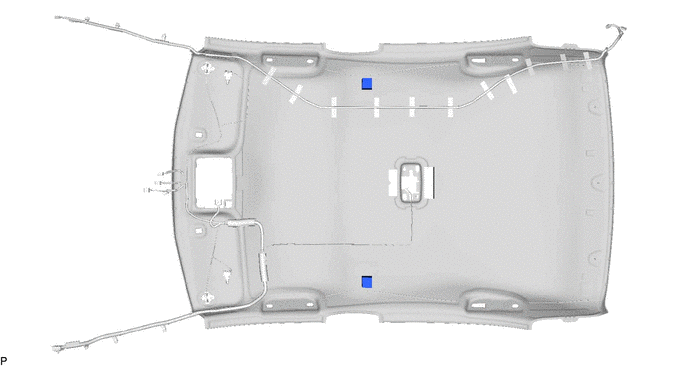
11. REMOVE NO. 2 ANTENNA CORD SUB-ASSEMBLY
12. REMOVE NO. 1 ROOF WIRE (for TMC Made Normal Roof)
(a) Remove the adhesive tape from the roof headlining assembly.
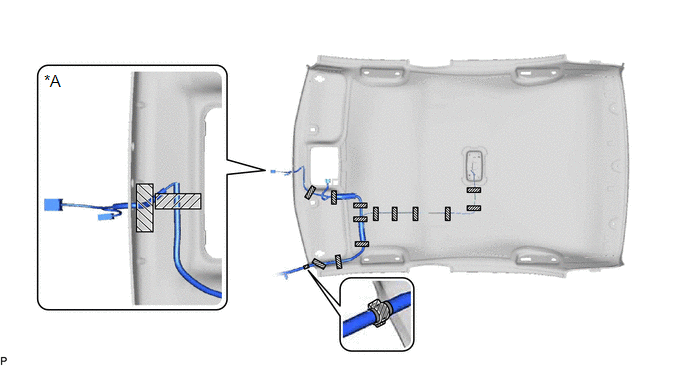
|
*A |
for Front Side with Connector |
- |
- |

|
Adhesive Tape |
- |
- |
(b) for Front Side with Connector:
(1) Disconnect the No. 1 roof wire from the notch.
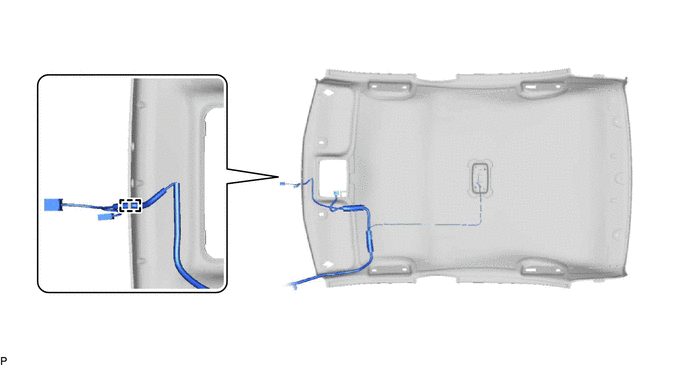
(c) Remove the No. 1 roof wire from the roof headlining assembly.
13. REMOVE NO. 1 ROOF WIRE (for TMMMS Made Normal Roof)
(a) Remove the adhesive tape from the roof headlining assembly.
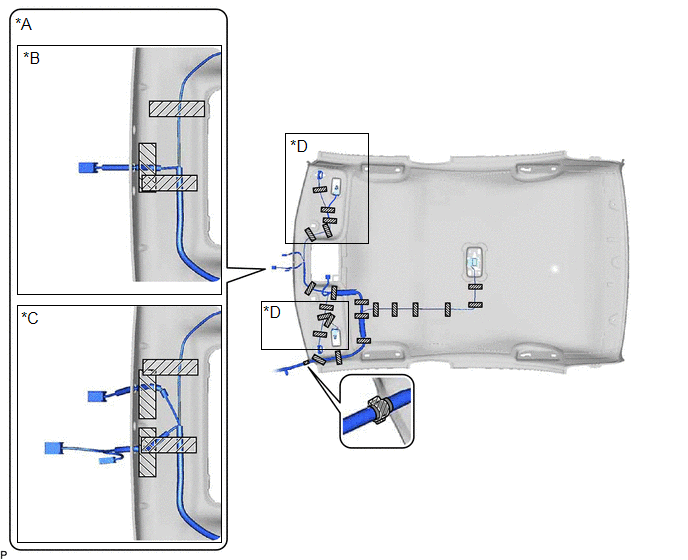
|
*A |
for Front Side with Connector |
*B |
w/o Pre-collision System |
|
*C |
w/ Pre-collision System |
*D |
w/ Vanity Light |

|
Adhesive Tape |
- |
- |
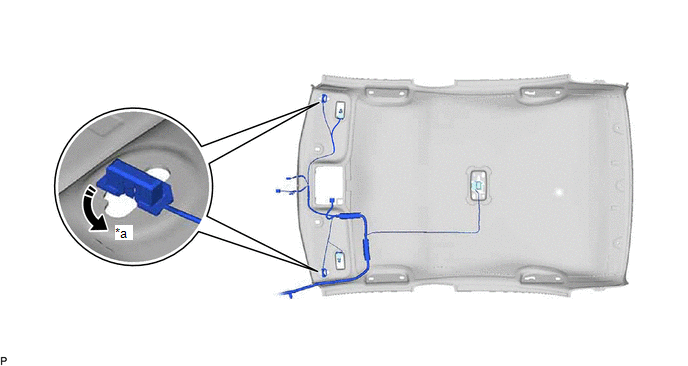
(b) w/ Vanity Light:
(1) Turn the 2 visor connectors counterclockwise approximately 90° and remove them from the roof headlining assembly.
|
*a |
90° |
- |
- |

|
Rotation Direction |
- |
- |
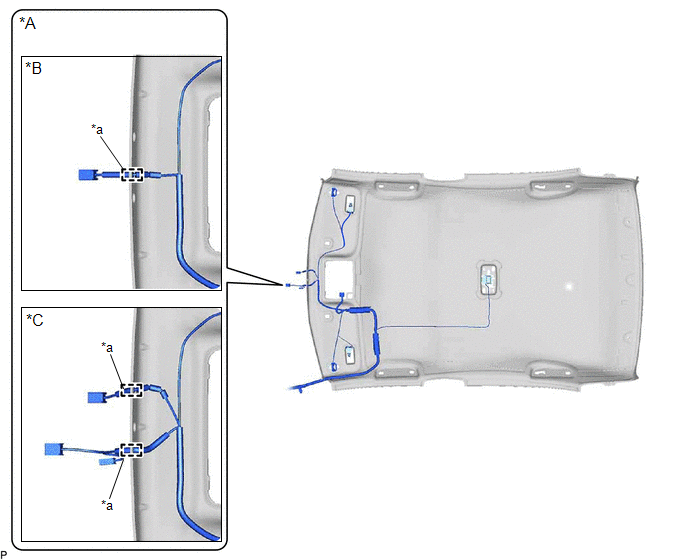
(c) for Front Side with Connector:
(1) Disconnect the No. 1 roof wire from each notch.
|
*A |
for Front Side with Connector |
*B |
w/o Pre-collision System |
|
*C |
w/ Pre-collision System |
- |
- |
|
*a |
Notch |
- |
- |
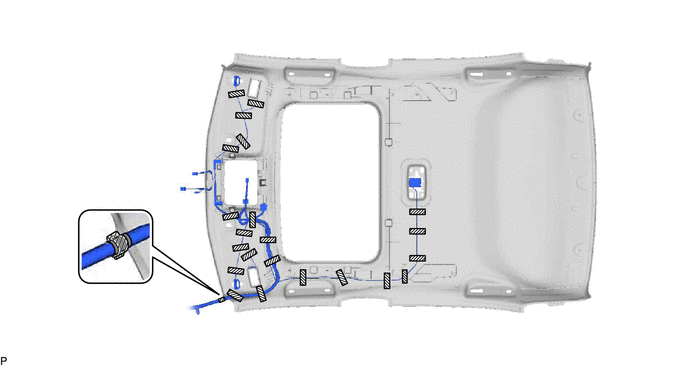
14. REMOVE NO. 1 ROOF WIRE (for Moon Roof)
(a) Remove the adhesive tape from the roof headlining assembly.

|
Adhesive Tape |
- |
- |
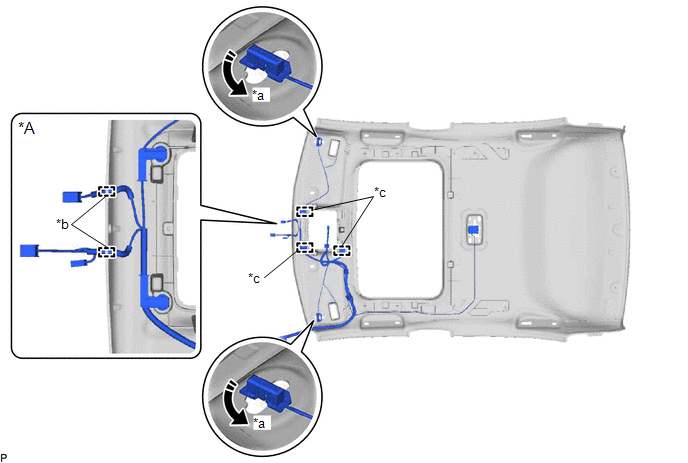
(b) Turn the 2 visor connectors counterclockwise approximately 90° and remove them from the roof headlining assembly.
|
*A |
for Front Side with Connector |
- |
- |
|
*a |
90° |
*b |
Notch |
|
*c |
Clamp |
- |
- |

|
Rotation Direction |
- |
- |
(c) for Front Side with Connector:
(1) Disconnect the No. 1 roof wire from each notch.
(d) Using a clip remover, disengage the 3 clamps.
(e) Remove the No. 1 roof wire from the roof headlining assembly.
|
|
|
![2020 MY Corolla Corolla Hatchback Corolla HV GR Corolla [03/2019 - 04/2020]; AUDIO / VIDEO: RADIO ANTENNA CORD (for Sedan): REMOVAL+](/t3Portal/stylegraphics/info.gif)