| Last Modified: 05-08-2025 | 6.11:8.1.0 | Doc ID: RM100000001FF0F |
| Model Year Start: 2019 | Model: RAV4 HV | Prod Date Range: [11/2018 - ] |
| Title: P710 (HYBRID TRANSMISSION / TRANSAXLE): SHIFT LEVER: INSTALLATION; 2019 - 2025 MY RAV4 HV [11/2018 - ] | ||
INSTALLATION
PROCEDURE
1. INSTALL TRANSMISSION FLOOR SHIFT ASSEMBLY
|
(a) Temporarily install the transmission floor shift assembly to the vehicle body with the 4 bolts. |
|
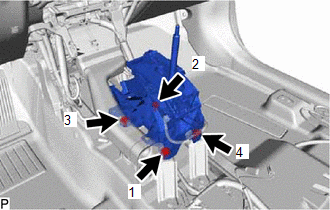
(b) Tighten the 4 bolts in the order shown in the illustration.
Torque:
12 N·m {122 kgf·cm, 9 ft·lbf}
|
(c) Connect the shift lock control ECU connector. |
|
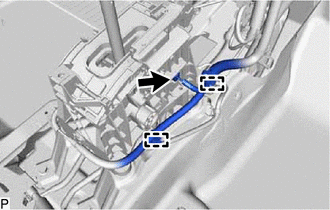
(d) Engage the 2 clamps to connect the wire harness to the transmission floor shift assembly.
|
(e) Connect the transmission control switch connector. |
|
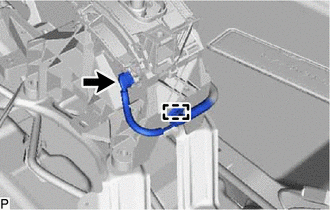
(f) Engage the clamp to connect the wire harness to the transmission floor shift assembly.
2. CONNECT TRANSMISSION CONTROL CABLE ASSEMBLY
NOTICE:
Before connecting the transmission control cable assembly, check that the shift lever is in N.
|
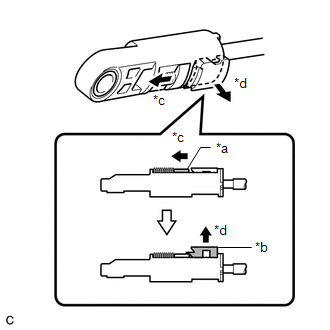
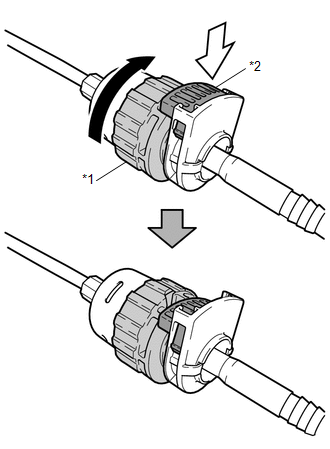
(a) Slide the slider of the transmission control cable assembly in the direction indicated by the arrow in the illustration and pull the lock piece outward. |
|
|
*1 |
Nut |
|
*2 |
Lock |

|
Rotate approximately 180° |

|
Push In |
(b) Rotate the nut of the transmission control cable assembly approximately 180° in the direction shown in the illustration, and while holding the nut in that position, push in the lock.
NOTICE:
Rotating the nut too much will damage the internal spring, and the transmission control cable assembly will not be reusable. Do not turn the nut too far.

|
*1 |
Lock |
|
*a |
Protrusion |

|
Install in this Direction |
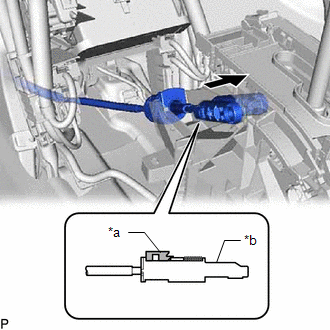
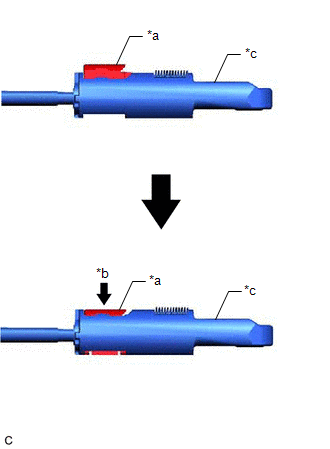
(c) Install the transmission control cable assembly to the floor shift shift lever assembly.
NOTICE:
- Install the transmission control cable assembly with the protrusion facing upwards.
- After installation, make sure that the lock is projecting from A as shown in the illustration.
- Make sure that the transmission control cable assembly is securely locked.
|
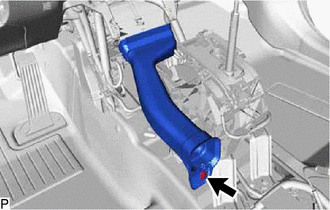
(d) Connect the transmission control cable assembly to the transmission floor shift assembly. NOTICE:
|
|
|
(e) Push the lock piece into the adjuster case. NOTICE:
|
|
(f) After adjusting the shift lever position, check the position and operation of the shift lever. If there is a problem, adjust the shift lever position again.
3. INSTALL NO. 1 CONSOLE BOX DUCT
|
(a) Install the No. 1 console box duct with the clip. |
|
4. INSTALL CONSOLE BOX ASSEMBLY
Click here
![2019 - 2021 MY RAV4 RAV4 HV [11/2018 - 12/2021]; INTERIOR PANELS / TRIM: FRONT CONSOLE BOX: INSTALLATION](/t3Portal/stylegraphics/info.gif)
5. INSPECT SHIFT LEVER POSITION
Click here
6. ADJUST SHIFT LEVER POSITION
Click here
|
|
|