| Last Modified: 08-21-2023 | 6.11:8.1.0 | Doc ID: RM100000001JUAD |
| Model Year Start: 2020 | Model: Avalon HV | Prod Date Range: [08/2019 - ] |
| Title: HEATING / AIR CONDITIONING: AIR CONDITIONING UNIT (for HV Model): DISASSEMBLY; 2020 - 2022 MY Avalon HV [08/2019 - ] | ||
DISASSEMBLY
PROCEDURE
1. REMOVE NO. 4 HEATER TO REGISTER DUCT SUB-ASSEMBLY
|
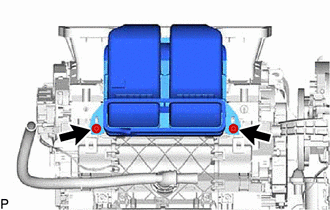
(a) Remove the 2 screws. |
|
|
(b) Disengage the 6 claws to remove the No. 4 heater to register duct sub-assembly. |
|
2. REMOVE NO. 2 AIR DUCT SUB-ASSEMBLY
|
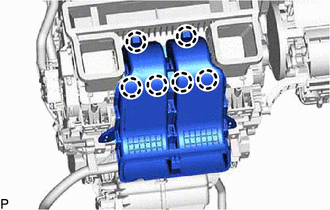
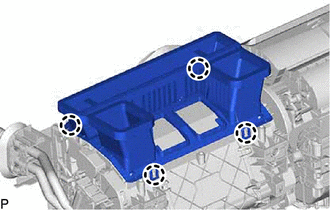
(a) Disengage the 4 claws to remove the No. 2 air duct sub-assembly. |
|
3. REMOVE NO. 2 AIR DUCT
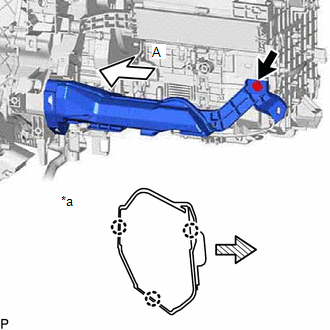
(a) Remove the screw.
|
*a |
View A |

|
Front |
(b) Disengage the 3 claws to remove the No. 2 air duct.
NOTICE:
Be careful not to deform or damage the lower heater case of the air conditioner unit assembly when removing the No. 2 air duct.
4. REMOVE ASPIRATOR
|
(a) Disengage the guide and 2 claws to remove the aspirator. |
|
5. REMOVE BLOWER ASSEMBLY
Click here
![2020 - 2021 MY Avalon Avalon HV [08/2019 - 08/2021]; HEATING / AIR CONDITIONING: BLOWER UNIT: REMOVAL+](/t3Portal/stylegraphics/info.gif)
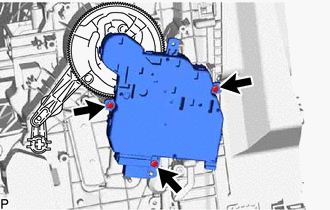
6. REMOVE AIR CONDITIONING AMPLIFIER ASSEMBLY
(a) Disconnect the connector.
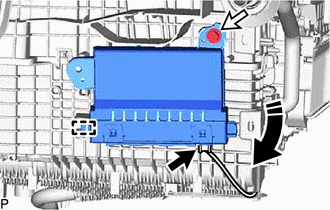

|
Remove in this Direction |
(b) Remove the screw.
(c) Disengage the guide to remove the air conditioning amplifier assembly as shown in the illustration.
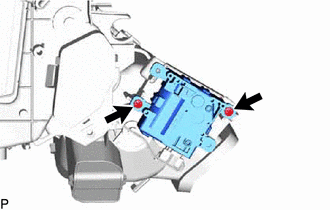
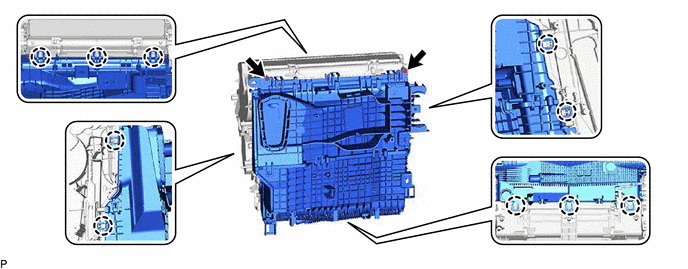
7. REMOVE AIR CONDITIONING HARNESS ASSEMBLY
|
(a) Disconnect each connector. |
|
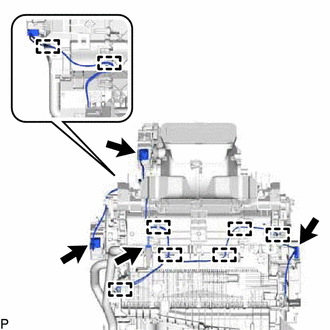
(b) Disengage each clamp to remove the air conditioning harness assembly.
8. REMOVE HEATER COVER
Click here
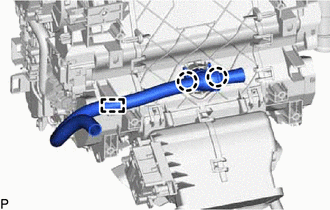
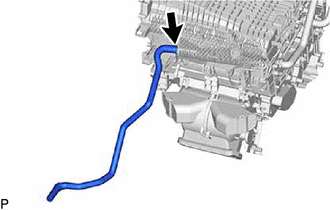
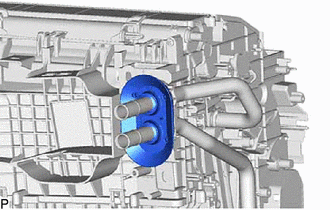
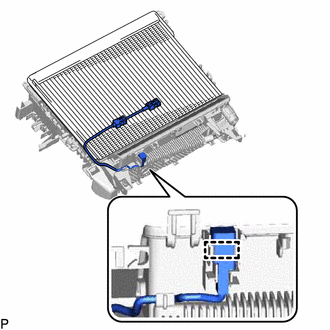
9. REMOVE DRAIN COOLER HOSE
|
(a) Remove the drain cooler hose. |
|
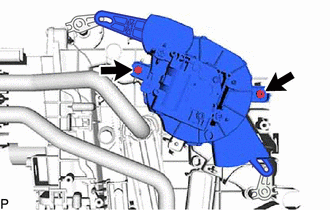
10. REMOVE NO. 1 AIR CONDITIONING RADIATOR DAMPER SERVO SUB-ASSEMBLY
|
(a) Remove the 3 screws and No. 1 air conditioning radiator damper servo sub-assembly. |
|
11. REMOVE NO. 2 AIR CONDITIONING RADIATOR DAMPER SERVO SUB-ASSEMBLY
|
(a) Remove the 2 screws and No. 2 air conditioning radiator damper servo sub-assembly. |
|
12. REMOVE NO. 3 AIR CONDITIONING RADIATOR DAMPER SERVO SUB-ASSEMBLY
|
(a) Remove the 2 screws and No. 3 air conditioning radiator damper servo sub-assembly. |
|
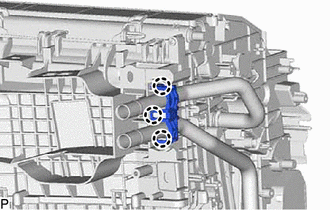
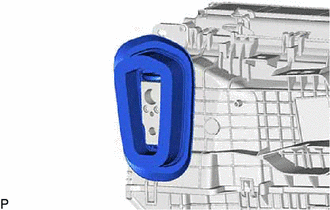
13. REMOVE HEATER PIPE GROMMET
|
(a) Remove the heater pipe grommet. |
|
14. REMOVE HEATER CLAMP
|
(a) Disengage the 3 claws to remove the heater clamp. |
|
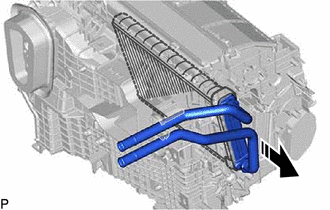
15. REMOVE HEATER RADIATOR UNIT SUB-ASSEMBLY
|
|
Remove in this Direction |
(a) Remove the heater radiator unit sub-assembly as shown in the illustration.
NOTICE:
Prepare a drain pan or cloth in case the coolant leaks.
16. REMOVE COOLING UNIT PARTS
|
(a) Remove the cooling unit parts. |
|
17. REMOVE COOLER EXPANSION VALVE
|
(a) Using a 4 mm hexagon socket wrench, remove the 2 hexagon bolts and cooler expansion valve. |
|
(b) Remove the 2 O-rings from the No. 1 cooler evaporator sub-assembly.
18. REMOVE NO. 1 COOLER EVAPORATOR SUB-ASSEMBLY
(a) Remove the 2 screws.
(b) Disengage the 10 claws to remove the upper heater case with No. 1 cooler evaporator sub-assembly from the lower heater case.
|
(c) Disengage the clamp. |
|
(d) Remove the No. 1 cooler evaporator sub-assembly with No. 1 cooler thermistor from the upper heater case.
NOTICE:
When the No. 1 cooler evaporator sub-assembly is removed, make sure to install a new one. The No. 1 cooler evaporator sub-assembly cannot be reused.
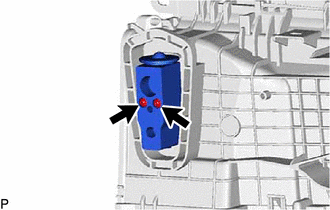
19. REMOVE NO. 1 COOLER THERMISTOR
Click here
|
|
|